Preparing your learning space...
50% through Getting Started tutorials
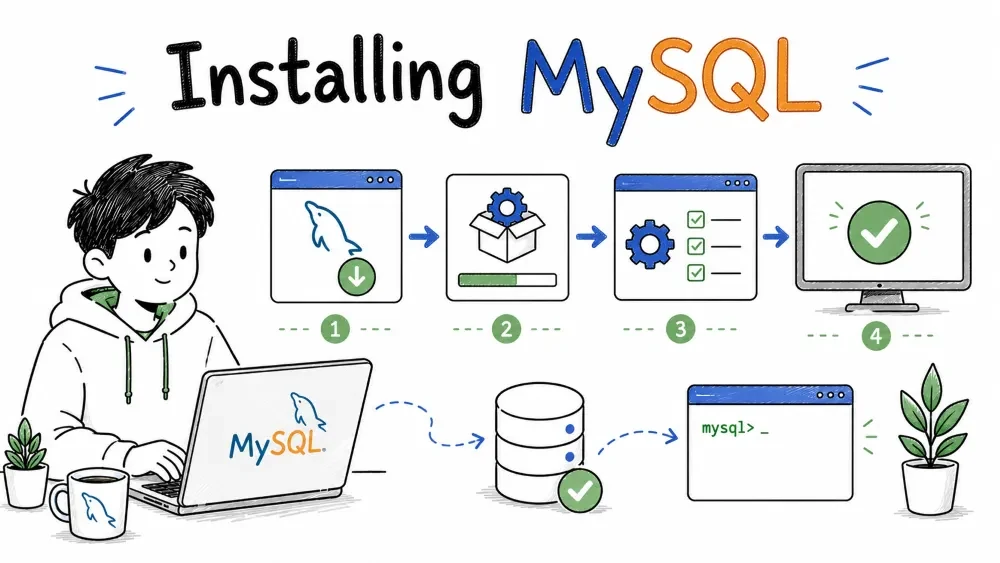
MySQL is one of the most popular open-source relational database management systems. This guide covers everything from system requirements and installation to configuration, verification, and your first login — all in one place. Whether you're on Windows, Linux, or macOS, you'll have MySQL Server up and running by the end.
| Component | Minimum | Recommended |
|---|---|---|
| CPU | 1 core | 2+ cores |
| RAM | 512 MB | 2 GB or more |
| Disk Space | 1 GB (for installation) | 10 GB+ (for databases) |
| Platform | Supported Versions |
|---|---|
| Windows | Windows 10/11, Windows Server 2016+ |
| Linux | Ubuntu 20.04+, Debian 11+, RHEL 8+, CentOS 7+ |
| macOS | macOS 11 (Big Sur) and later |
The MySQL Installer is a single package that downloads and installs MySQL Server and related products.
Step 1: Download the Installer
Note: The web installer requires internet during setup. The full installer is better if you're installing on multiple machines or have a slow connection.
Step 2: Run the Installer
.msi fileStep 3: Configure MySQL Server
MySQL80)Step 4: Apply Configuration
For advanced users who want full control:
# 1. Extract the ZIP to a folder (e.g., C:\mysql)
# 2. Create my.ini configuration file in the extracted folder
# 3. Initialize the data directory
mysqld --initialize --console
#    ^ Note the temporary root password from the output

# 4. Install as a Windows service
mysqld --install

# 5. Start the service
net start MySQL
# 1. Update package index
sudo apt update

# 2. Install MySQL Server
sudo apt install mysql-server -y

# 3. Check status
sudo systemctl status mysql

# 4. Run the security script
sudo mysql_secure_installation
Note: On some Ubuntu versions, the root user authenticates via
auth_socketby default. To log in as root, usesudo mysqlinstead ofmysql -u root -p.
The mysql_secure_installation script will prompt you to:
# 1. Add the official MySQL repository
sudo dnf install https://dev.mysql.com/get/mysql80-community-release-el9-1.noarch.rpm

# 2. Install MySQL Server
sudo dnf install mysql-server -y

# 3. Start the server
sudo systemctl start mysqld

# 4. Enable auto-start on boot
sudo systemctl enable mysqld

# 5. Get the temporary root password
sudo grep 'temporary password' /var/log/mysqld.log

# 6. Run the security script (use the temp password)
sudo mysql_secure_installation
# 1. Update Homebrew
brew update

# 2. Install MySQL
brew install mysql

# 3. Start MySQL
brew services start mysql

# 4. Run the security script
mysql_secure_installation
.dmg file from dev.mysql.com/downloads/mysql/.pkgMySQL Workbench is a graphical tool for database design, development, and administration. It provides three main functional areas:
| Area | Purpose |
|---|---|
| SQL Development | Write, run, and debug SQL queries |
| Data Modeling | Visually design database schemas (ER diagrams) |
| Server Administration | Manage users, backups, server configuration |
Prerequisite: MySQL Server must be installed and running before Workbench can connect.
If you already ran the MySQL Installer for the server:
.msi installer for Windows# Ubuntu / Debian — via APT
sudo apt update
sudo apt install mysql-workbench -y
# Or use snap (recommended for newer versions)
sudo snap install mysql-workbench-community
# Fedora / RHEL
wget https://dev.mysql.com/get/Downloads/MySQLGUITools/mysql-workbench-community-<version>-fedora.rpm
sudo dnf install ./mysql-workbench-community-*.rpm
Note: Oracle has discontinued standalone Linux packages for newer Workbench versions. The snap package is the recommended approach.
# Using Homebrew
brew install --cask mysql-workbench

# Or download the .dmg from dev.mysql.com/downloads/workbench/
# and drag the app to the Applications folder
| Field | Value |
|---|---|
| Connection Name | local (or any name) |
| Hostname | 127.0.0.1 |
| Port | 3306 |
| Username | root |
| Password | Click Store in Keychain and enter the root password |
The MySQL Command Line Client is a text-based interface that ships with every MySQL Server installation.
| Platform | How to Launch |
|---|---|
| Windows | Start Menu → MySQL 8.0 Command Line Client —or— mysql -u root -p in Command Prompt |
| Linux | mysql -u root -p in the terminal |
| macOS | mysql -u root -p in the terminal |
mysql -u <username> -p [-h <hostname>] [-P <port>]
| Flag | Meaning | Default |
|---|---|---|
-u | Username | — |
-p | Prompt for password | — |
-h | Hostname | localhost |
-P | Port | 3306 |
# Connect to local MySQL as root
mysql -u root -p

# Connect to a remote MySQL server
mysql -u admin -p -h 192.168.1.100 -P 3306
mysql> prompt)SHOW DATABASES; -- List all databases
USE database_name; -- Switch to a database
SHOW TABLES; -- List tables in current database
SELECT VERSION(); -- Show MySQL version
STATUS; -- Show server status info
EXIT; -- Exit the client (or \q)
MySQL reads configuration from a file at startup. Modifying this file lets you change server behavior.
| Platform | Default Path |
|---|---|
| Windows | C:\ProgramData\MySQL\MySQL Server 8.0\my.ini |
| Linux | /etc/mysql/my.cnf or /etc/my.cnf |
| macOS | /etc/my.cnf or ~/.my.cnf |
[mysqld]
# Network
port = 3306
bind-address = 127.0.0.1

# Storage
datadir = /var/lib/mysql
max_allowed_packet = 64M

# Performance
innodb_buffer_pool_size = 1G
max_connections = 151

# Security
skip-external-locking
skip-name-resolve
| Section | Purpose |
|---|---|
[mysqld] | MySQL Server settings |
[mysql] | MySQL Command Line Client settings |
[client] | Settings applied to all client programs |
[mysqldump] | Settings for the backup utility |
Important: After editing the configuration file, you must restart the MySQL Server for changes to take effect.
Run these checks to confirm MySQL is installed and working correctly.
# Windows
tasklist | findstr mysql

# Linux / macOS
ps aux | grep mysql
# or
systemctl status mysql
mysql --version
Expected output: mysql Ver 8.0.x for <os> on <arch>
mysql -u root -p -e "SELECT 'MySQL is working!' AS status;"
Expected output: A single row showing MySQL is working!
mysql -u root -p -e "SHOW DATABASES;"
Expected output:
+--------------------+
| Database           |
+--------------------+
| information_schema |
| mysql              |
| performance_schema |
| sys                |
+--------------------+
Note: These four databases are created by default. Do not delete or modify the
mysqldatabase unless you know what you're doing.
# Via Command Prompt (Admin)
net start MySQL80          # Start
net stop MySQL80           # Stop

# Via Services GUI
# Win + R → services.msc → Find "MySQL80" → Start / Stop / Restart
sudo systemctl start mysql      # Start
sudo systemctl stop mysql       # Stop
sudo systemctl restart mysql    # Restart
sudo systemctl status mysql     # Check status
sudo systemctl enable mysql     # Auto-start on boot
sudo systemctl disable mysql    # Disable auto-start
# With Homebrew
brew services start mysql
brew services stop mysql
brew services restart mysql

# With DMG installer: System Preferences → MySQL → Start/Stop
Open a terminal (or Command Prompt on Windows)
Launch the MySQL client:
mysql -u root -p
Enter the root password when prompted
You should see:
Welcome to the MySQL monitor.  Commands end with ; or \g.
Your MySQL connection id is 8
Server version: 8.0.x

Type 'help;' or '\h' for help. Type '\c' to clear the current input.
mysql>
Run your first command:
mysql> SELECT "Hello, MySQL!" AS message;
Output:
+----------------+
| message        |
+----------------+
| Hello, MySQL!  |
+----------------+
1 row in set (0.00 sec)
Exit the client:
mysql> EXIT;
-- Run inside the mysql client
ALTER USER 'root'@'localhost' IDENTIFIED BY 'YourNewStrongPassword';
FLUSH PRIVILEGES;
mysql_secure_installation after every fresh installationCREATE USER and GRANT127.0.0.1 for local-only accessmy.cnf / my.ini only apply on restartapt upgrade / brew upgrade / the MySQL Installer/var/log/mysql/error.logC:\ProgramData\MySQL\MySQL Server 8.0\Data\*.errbrew services --helpSave your progress and earn XP for completing tutorials.
4 questions · Pass with 70%+
1What is the default port MySQL Server listens on for client connections?
2You install MySQL on Ubuntu via sudo apt install mysql-server, then try mysql -u root -p and the password is rejected. What's the most likely reason?
3After editing the MySQL configuration file (my.ini / my.cnf), when do your changes take effect?
4What is the purpose of running mysql_secure_installation after a fresh install?
Technology
MySQL
Lesson group
Getting Started
Progress
50% complete

